Win10子系统Ubuntu 18.04 LTS上安装docker
子系统安装docker挺麻烦的,这篇文章也是为了做个记录,以后有需要可以翻出来瞅瞅。
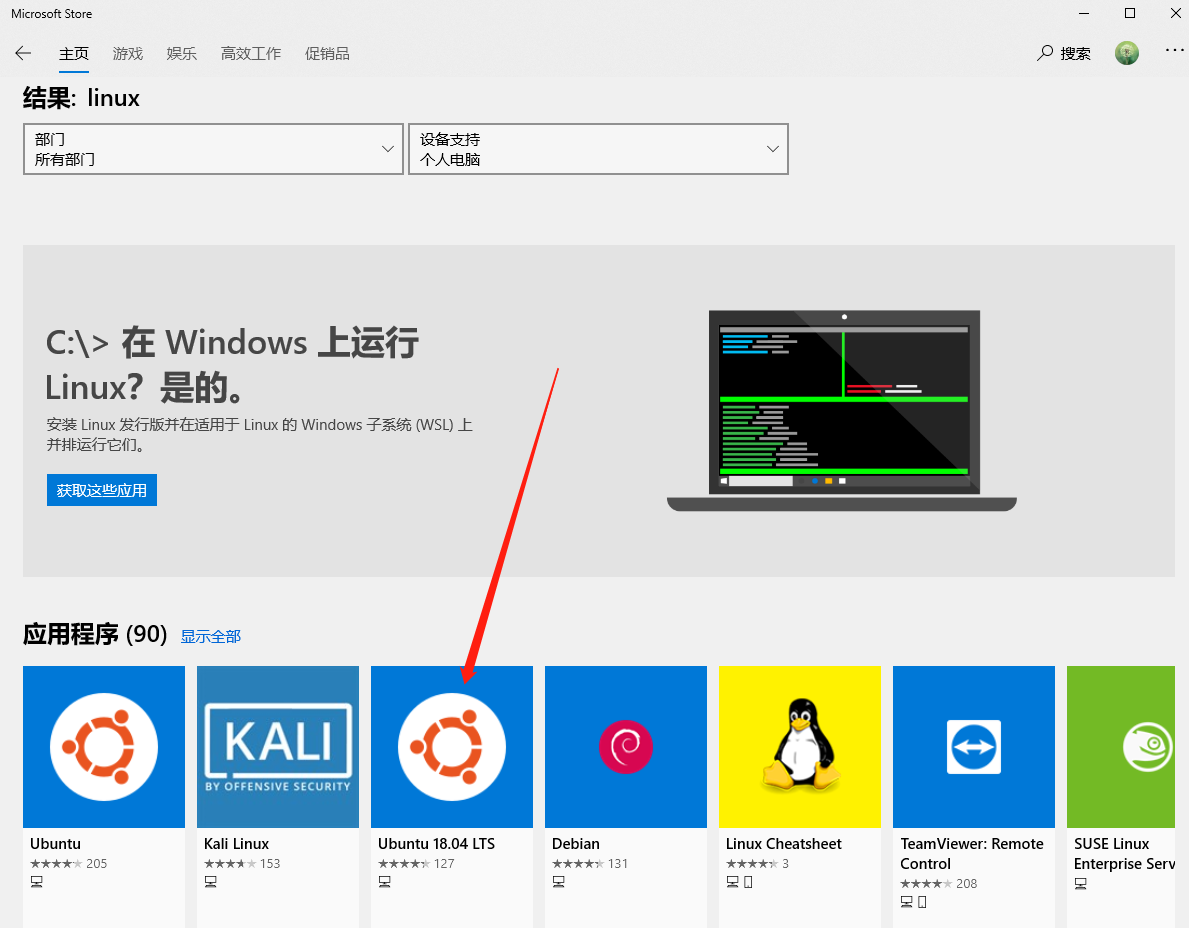
这里我使用的是Ubuntu 18.04 LTS的版本,可以在应用商店搜索Linux下载。
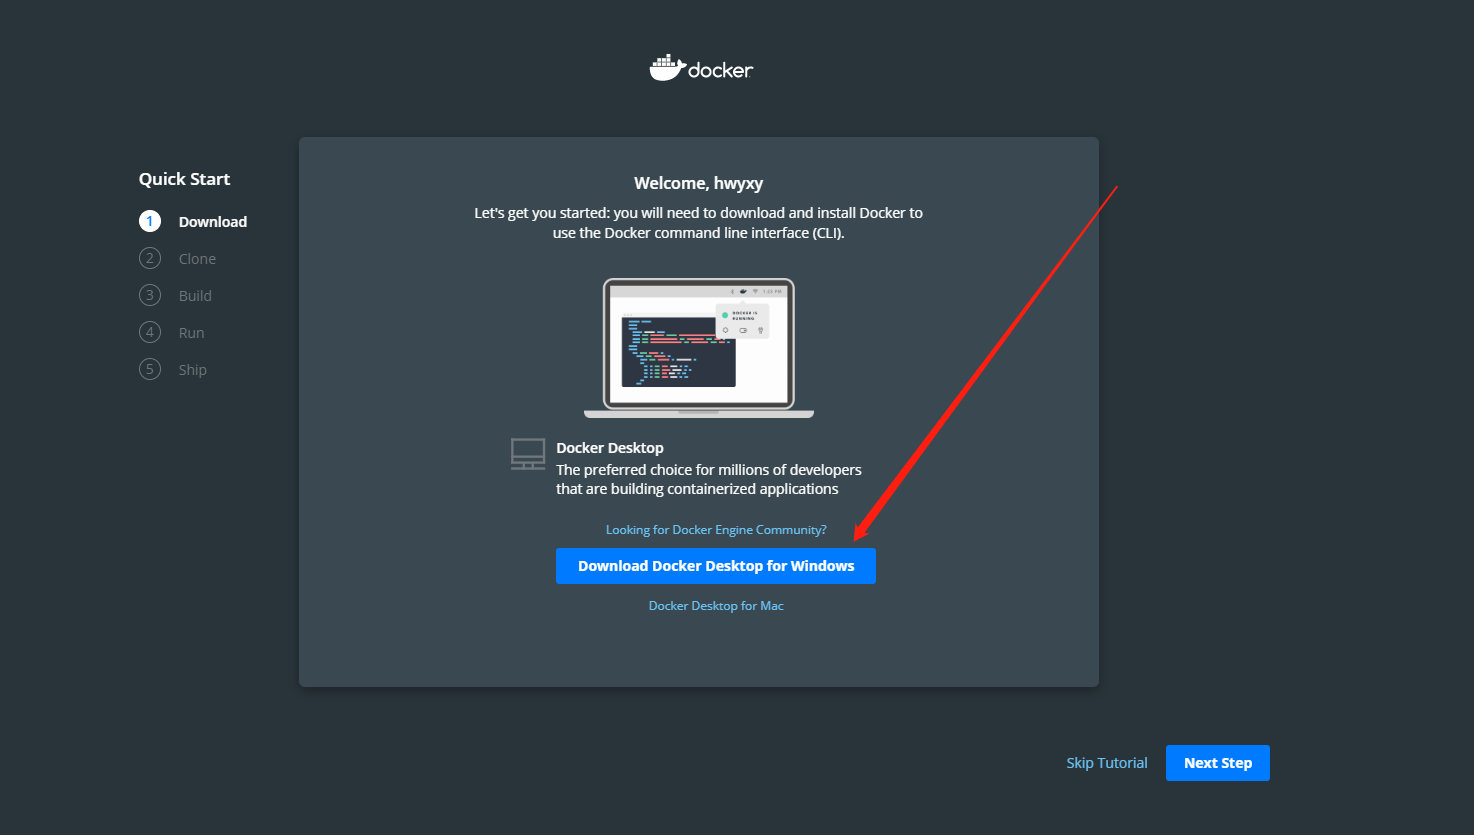
我们要先去docker的官网下载一个Windows的docker版本:
1 | https://hub.docker.com/?overlay=onboarding |
Linux配置
Windows 子系统Ubuntu 18.04 LTS和docker桌面版下载完毕之后,我们启动子系统,配置一些参数。
为了方便后续使用ssh工具连接linux,需要先安装ssh服务:
1 | sudo apt-get install openssh-server |
修改sshd配置文件
1 | vim /etc/ssh/sshd_config |
修改内容包含下面的几个配置:
1 | ListenAddress 0.0.0.0 # 取消注释 |
启动ssh,ssh服务不会跟随子系统自动启动这个比较麻烦,每次启动子系统都需要执行启动的命令
1 | service ssh start |
如果提示sshd error: could not load host key,则用下面的命令重新生成
1 | sudo rm /etc/ssh/ssh*key |
shell软件推荐国产的FinalShell,美观又好用。
安装docker
我们先清一下老版本的docker,虽然我们知道没有,但官方让我们清一下
1 | sudo apt-get remove docker docker-engine docker.io containerd runc |
在安装 Docker 引擎之前,您需要设置 Docker 存储库。之后,可以从存储库安装和更新 Docker。
1 | sudo apt-get update |
安装包以允许通过 HTTPS 使用存储库:
1 | sudo apt-get install \ |
添加 Docker 的官方 GPG 密钥:
1 | curl -fsSL https://download.docker.com/linux/ubuntu/gpg | sudo apt-key add - |
通过搜索指纹的最后8个字符,验证您现在是否拥有带有指纹的钥匙。
1 | sudo apt-key fingerprint 0EBFCD88 |
使用以下命令设置稳定存储库:
1 | sudo add-apt-repository \ |
更新包索引:
1 | sudo apt-get update |
安装最新版本的 Docker 引擎:
1 | sudo apt-get install docker-ce docker-ce-cli containerd.io |
看我们是否安装成功:
1 | docker -v |
到此以你为就安装成功了,太天真了(我以前就是那么天真)。
启动服务:
1 | sudo service docker start |
然而这并不可以用!!!,我来看一下现在docker的状态
1 | sudo service docker status |
如果我们这个时候使用docker拉一个hello-world,它会蹦出一句话
1 | docker: Cannot connect to the Docker daemon at unix:///var/run/docker.sock. Is the docker daemon running?. |
windows10子系统有其特殊性,需要安装docker for windows,用来作为Docker的守护进程(docker daemon),作为Docker的服务端,ubuntu下作为客户端去访问这个守护进程,这也就是为什么要下载docker for window的原因
安装 Docker for Windows
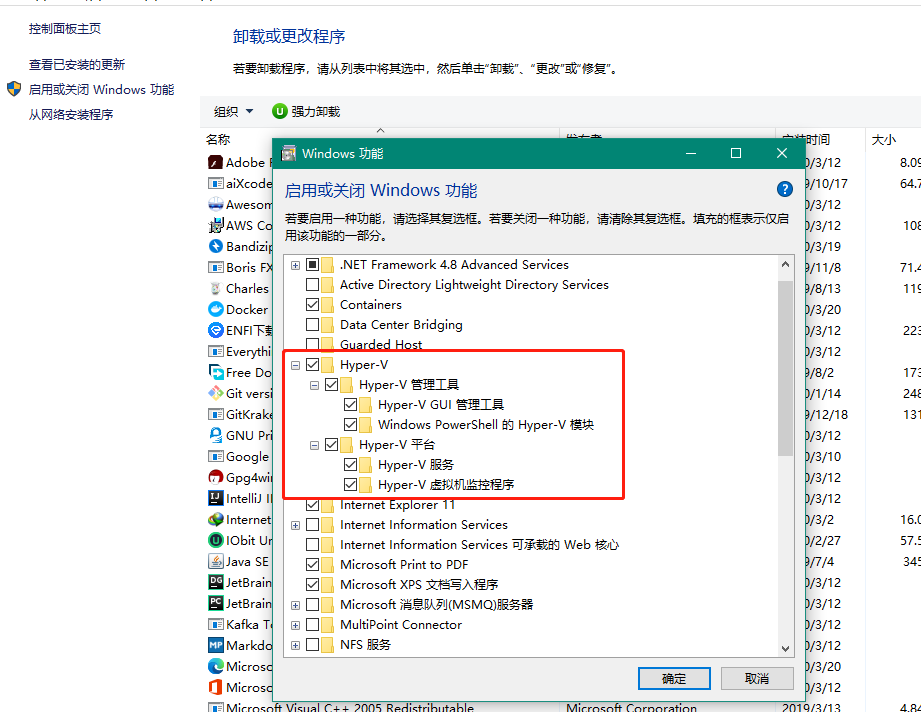
Typer-V如果没有开启,启动软件的时候会报错,这里开启,重启电脑即可
然后开启CPU的虚拟化

如果发现是禁用的,需要去BOIS设置开启虚拟化,具体可以自行百度很多文档。
安装没什么好说的,直接使用默认就好,成功启动之后,会引导你登录官方Docker的账号(不登录也可以),同时电脑的右下方会有个小鲸鱼,右键小鲸鱼,安装完成之后我们需要设置一些东西。
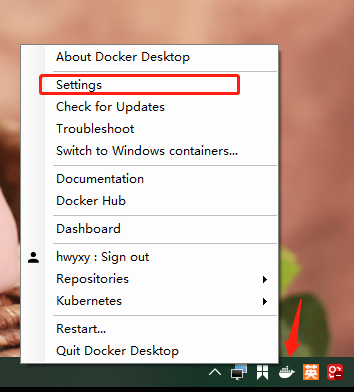
我们需要把守护进程勾起来
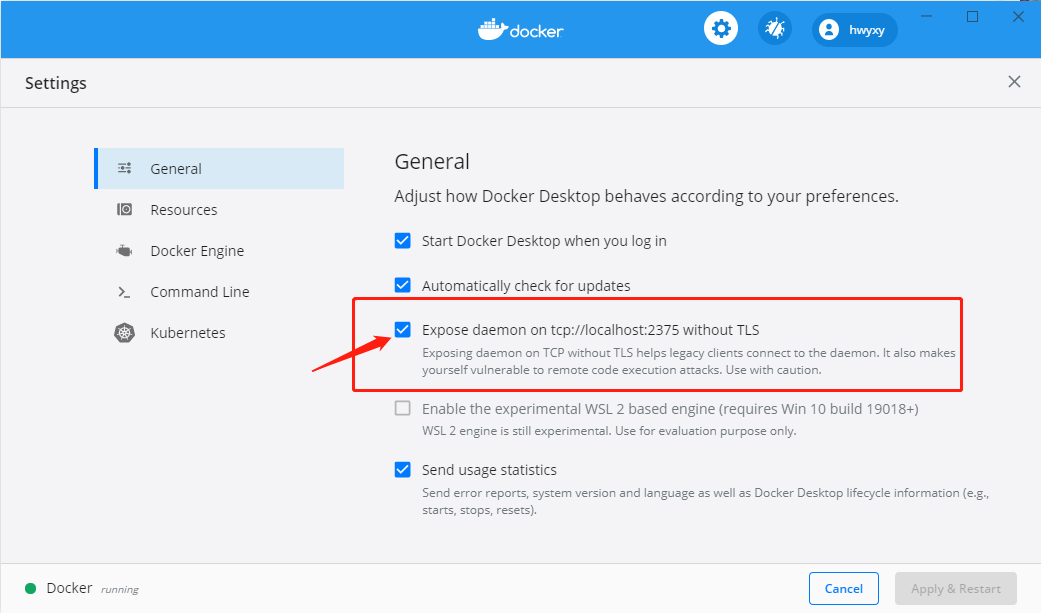
然后切换到我们linux中执行以下命令,让子进程链接宿主机Docker守护进程(每次重启系统需要刷一遍,也挺麻烦)
1 | echo "export DOCKER_HOST='tcp://0.0.0.0:2375'" >> ~/.bashrc |
再次使用查看版本命令,可以发现多了很多东西
1 | docker version |
这是以前的状态
这是子进程链接宿主机Docker守护进程后的状态
现在就真的可以启动服务了:
1 | sudo service docker start |
看一下现在docker的状态
1 | sudo service docker status |
拉取一个hello world测试程序:
1 | docker pull hello-world |
执行我们拉取的hello-world
1 | docker run hello-world |
出现以下信息说明已经成功了,不容易呀
1 | root@huangwenyi:~# docker run hello-world |